Drywall Repair Case Study 3

Project 4
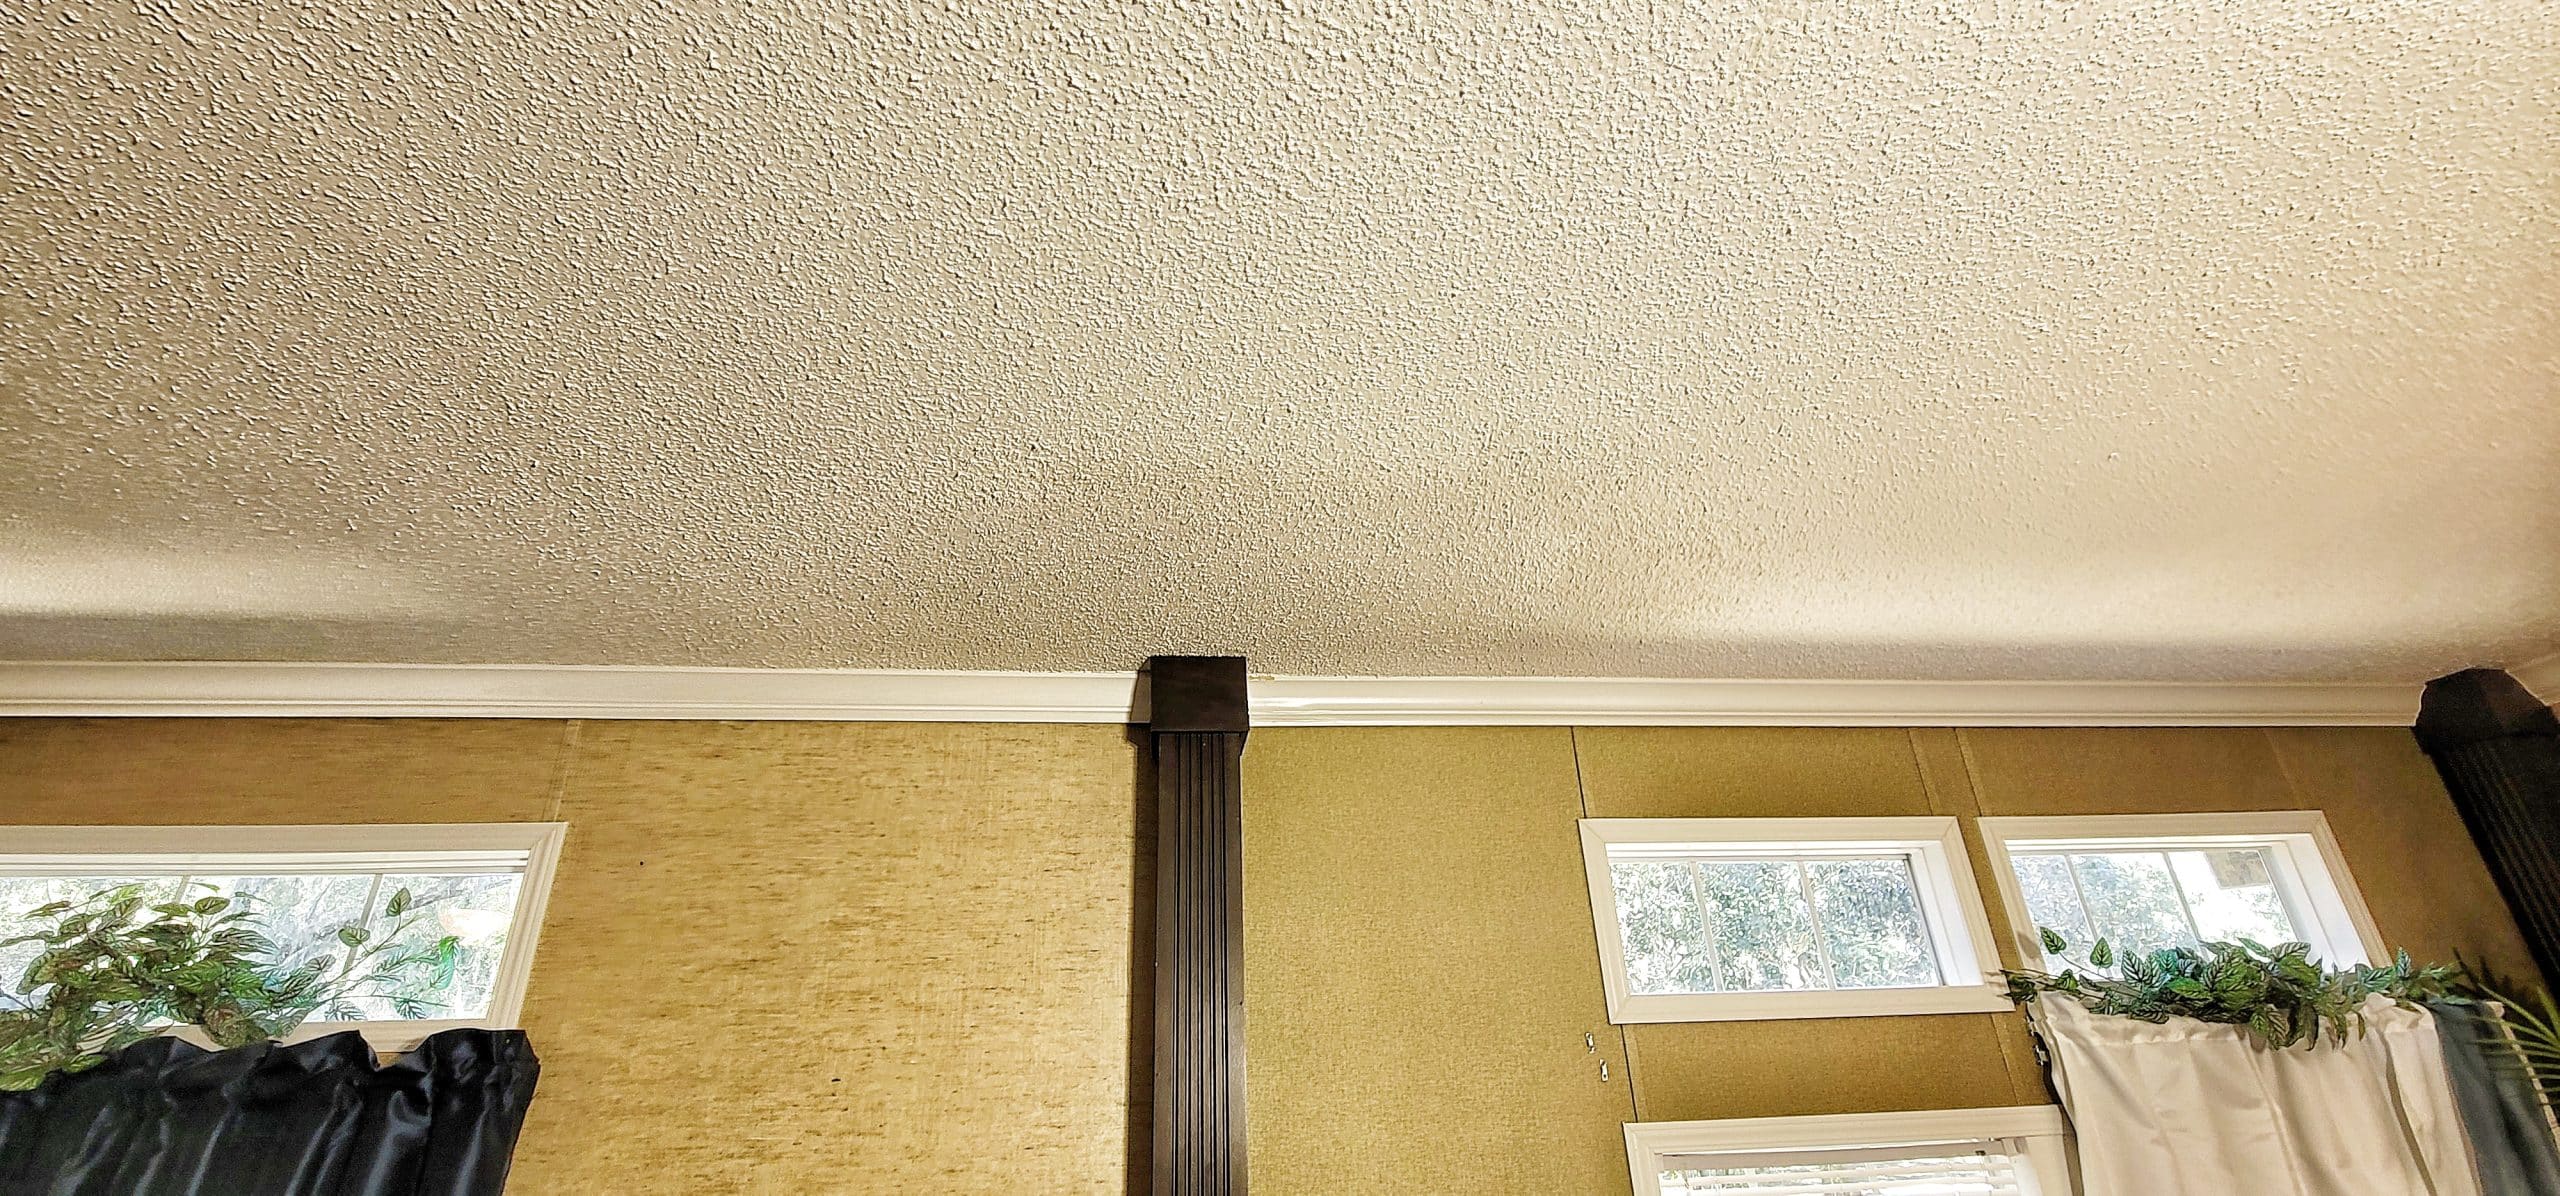
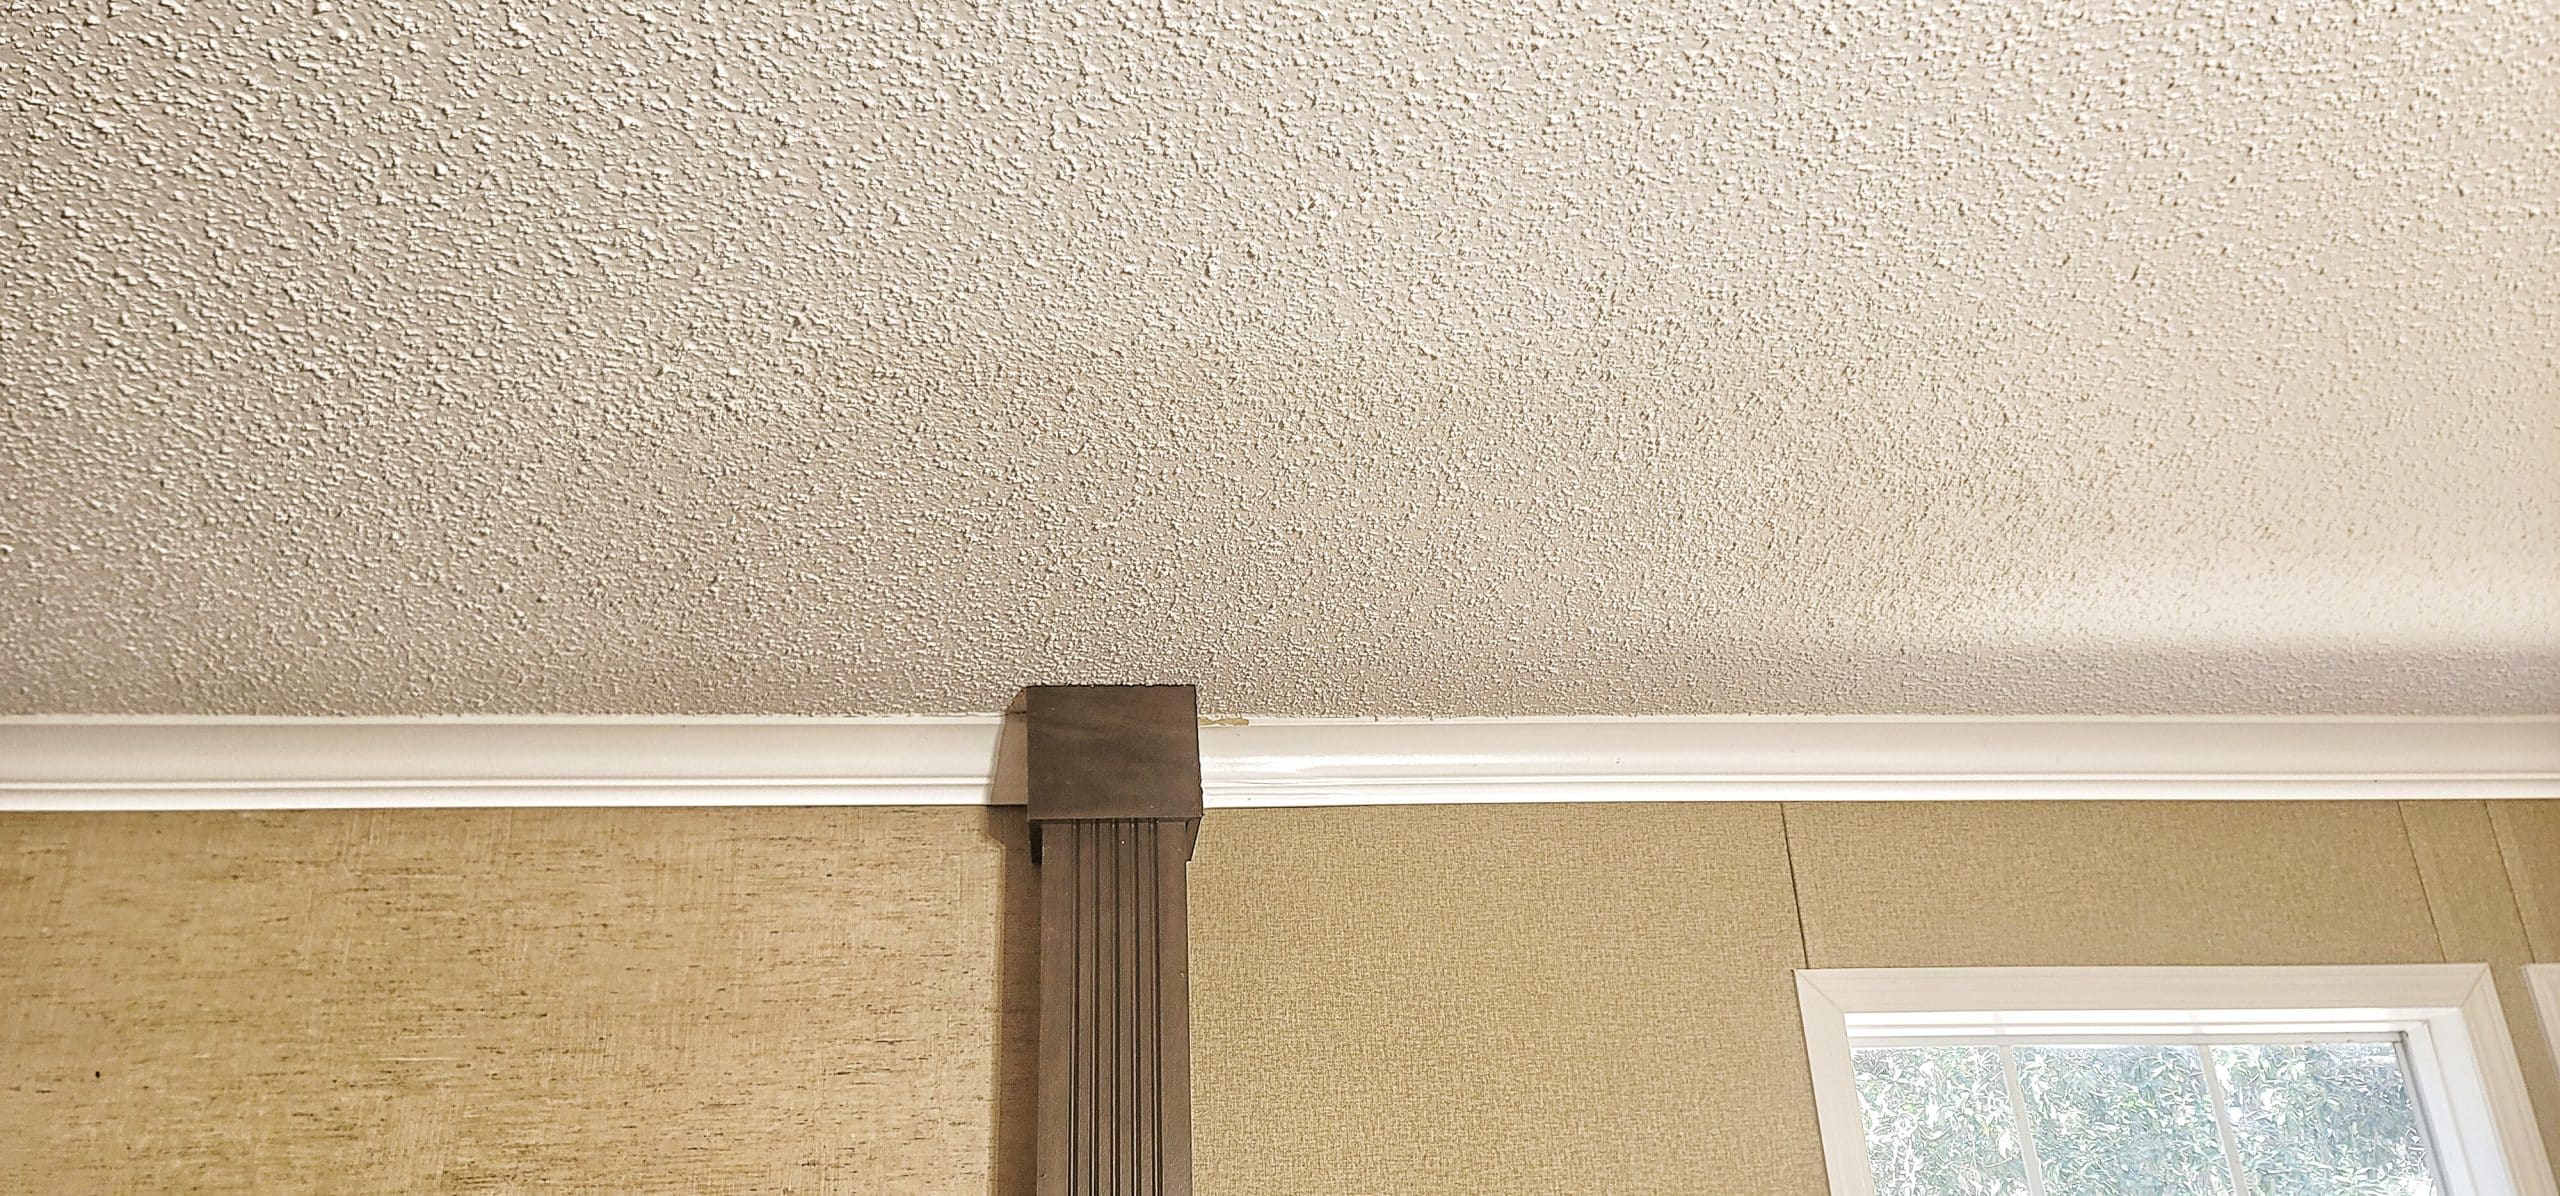
Popcorn Ceiling Repair
Old Town, Florida
“Do ya’ll work on mobile homes?”
Why YES, YES we do!
Pre-manufactured home, modular homes, tornado magnets, trailers- Whatever your personal preference for reference, we’re more than happy to be a resource!
This repair was localized, and we were called in to do our best. The entire area was tented off with our Zip-Poles™, and the floor protected as well. Canvas drop cloths to and from the repair area are a great way to protect the floors, and achieve some semblance of cost efficiency in jobsite prep.
Manufactured homes are unique; depending on the age and specific manufacturer, the drywall installation can be far superior to that of a site built home. This is primarily due to the expanding foam/ glue products used. The bonding surface area of the framing members to sheetrock is nearly 100%, or even greater than 100%, due to application process. As such, demo/ deconstruction can be challenging for the technician. Mechanical debridement of the glue, nails or staples, and the sheetrock itself is time and labor intensive.
1.Prep!
As mentioned before, canvas drop cloths were employed to the work are from the front door. Multiple large (12’ x 15’) drop cloths were used on the carpeted area of the work area as well; this mitigates potential plastic failure on the floor.
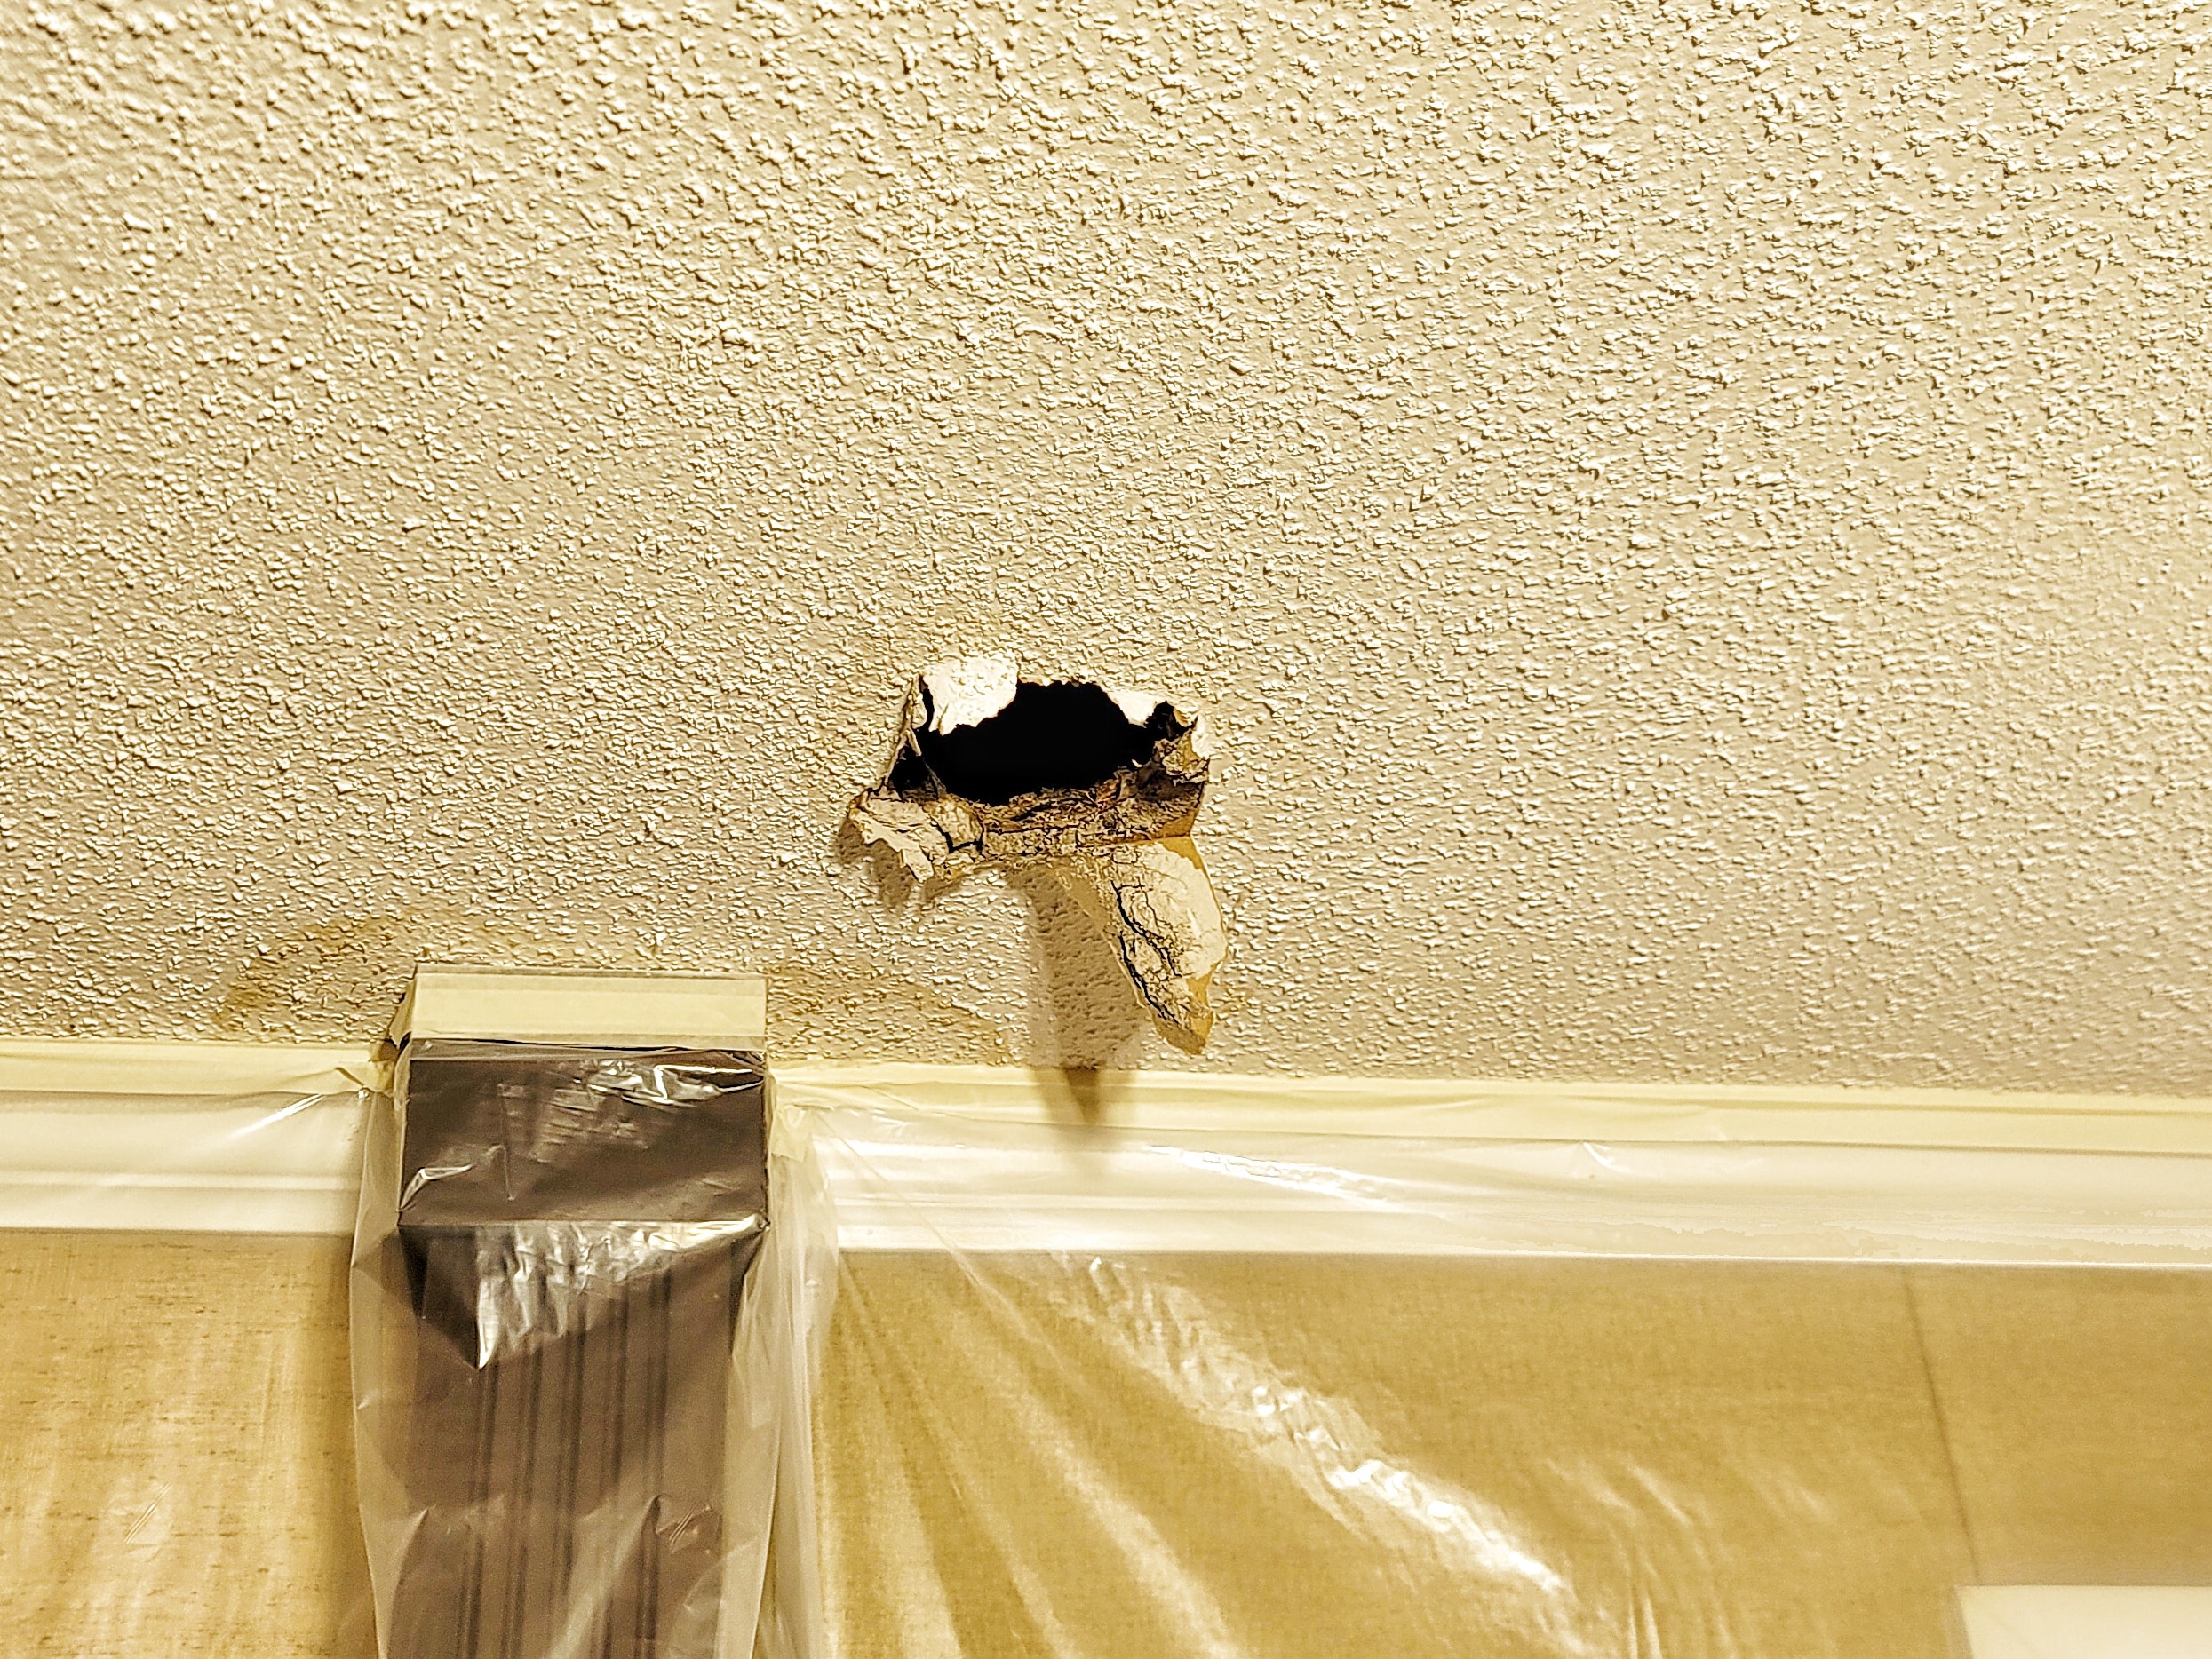
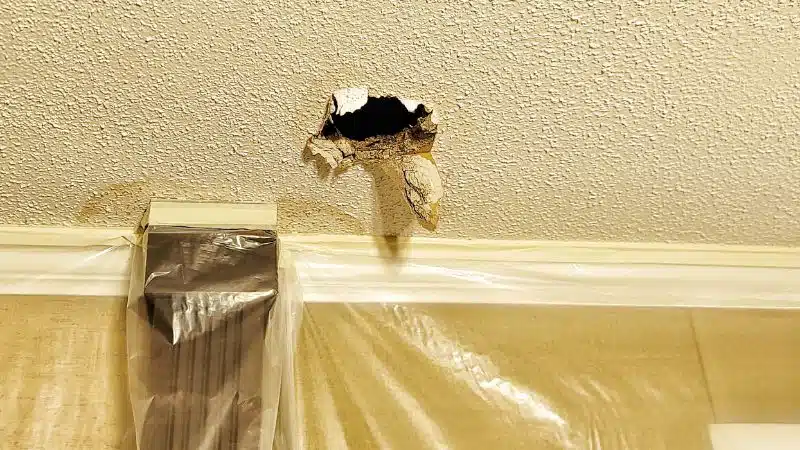
2. Identify Extent of Repair Area
Prior damage, material issues due to age, and type/ location of framing members are all considerations when trying to figure out what needs to go and what can stay in a drywall repair. Make sure that as you slice into the sheetrock, you are trying NOT to go beyond the back side of the sheetrock. That means a sawsall, and even a razorblade improperly used, can cause serious damage to the underlying systems.
While no electrical or AC / Plumbing lines had to be worked around, the roof was very close to the patch. It is important to not just “jam the saw in there;” careful, informed, methodical practices are employed to prevent systems damage.
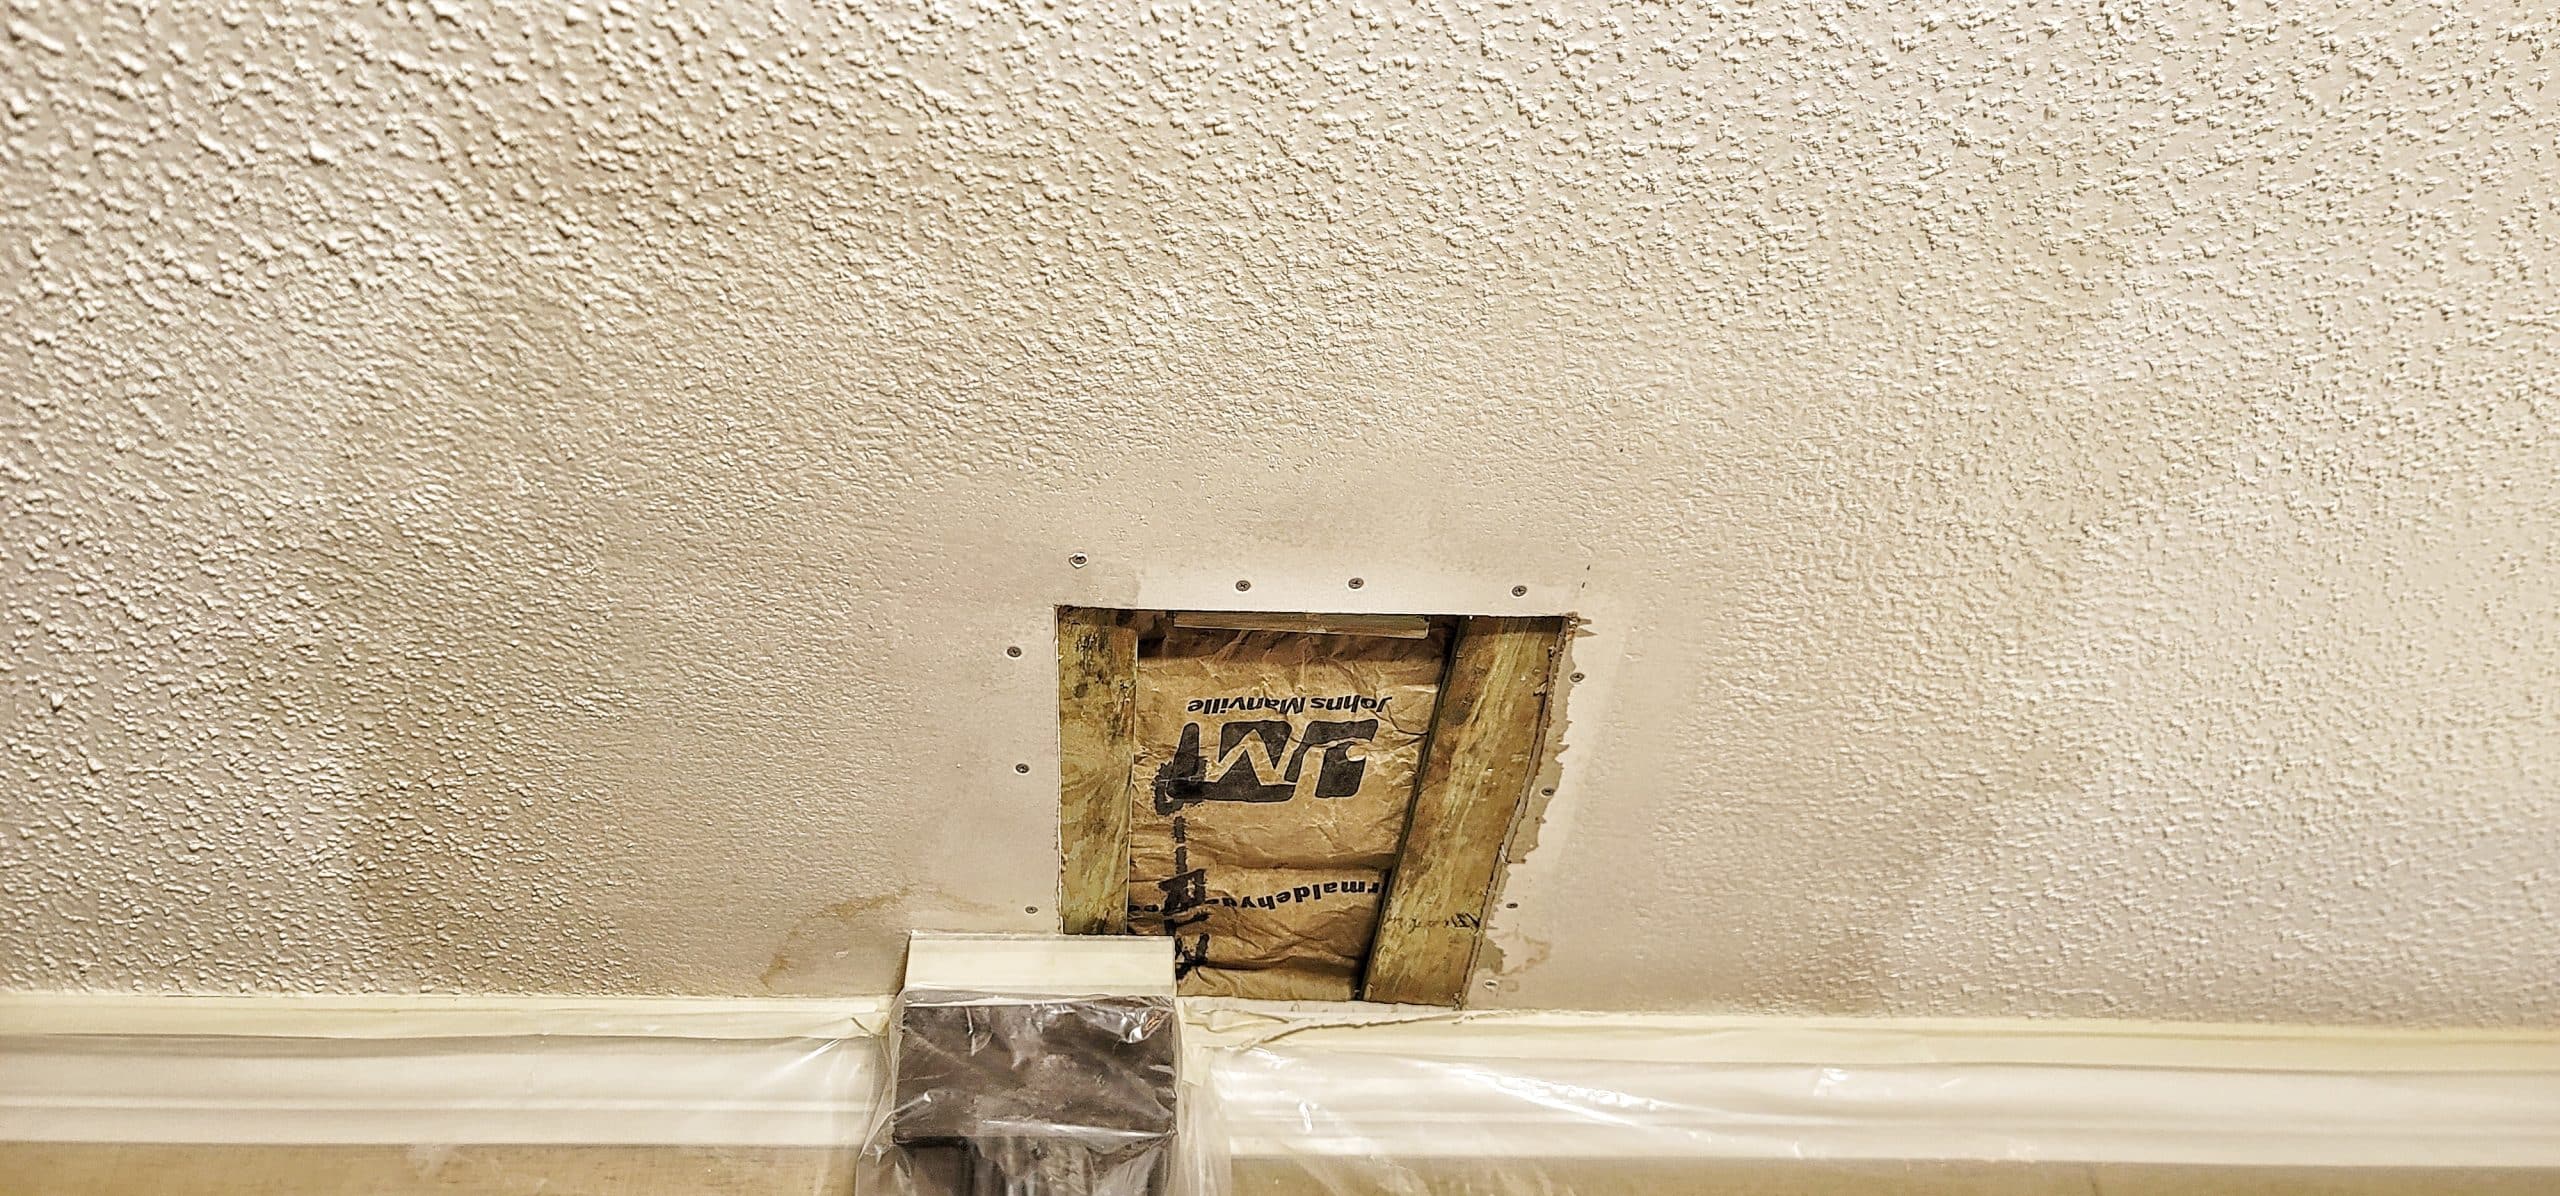
3. Patch Prep
There are both painted and stained wood elements in this repair. The importance of prep is hard to be overstated in these scenarios. Doubling or tripling the masking tape aids in preventing an errant nick or cut during demo, patch installation, or the finishing process on the surrounding woodwork.
This particular patch allowed us to terminate the drywall just shy of the ceiling framing members. Once we squared off and determined the patch area, the tech scraped the excess spray foam off the back of the existing drywall; by doing this, a backing piece of material is able to be placed securely. Thus enables a patch to be structurally sound.
Popcorn texture repairs are a tricky repair, but pretty straightforward once you understand the processes unique to their presentation. Versus complete texture removal eight to twelve inches on each side, a graduated approach is more effective for visual presentation. A trench up to 2” wide, down to the face of the raw sheetrock, certainly aids in the tape installation. At the very least, the slurry layer should be sanded to facilitate an even transition from the existing mud overlay to the new tape and mud profile of the patch. However, a 6”- 8” aggregate free field, followed by an 8” “sloped” material removal. The goal is to create a gradual material loading area for the overspray to seamlessly integrate from ole to new. Applying a bonding primer or surface sealer keeps the exiting mud and texture material from reactivating and failing when wet mud is applied.
4. Patch
1 x 4 is installed, w’ fasteners every 4”-6”. In our experience, we find that the board should “smile” at you- that is the natural cupping of the board should be up, not down. Running a screw in reverse thru the face of the patch, and then installing the screw allows for a “pre-drill” of sorts, and helps the patch to not bubble / crumple up.
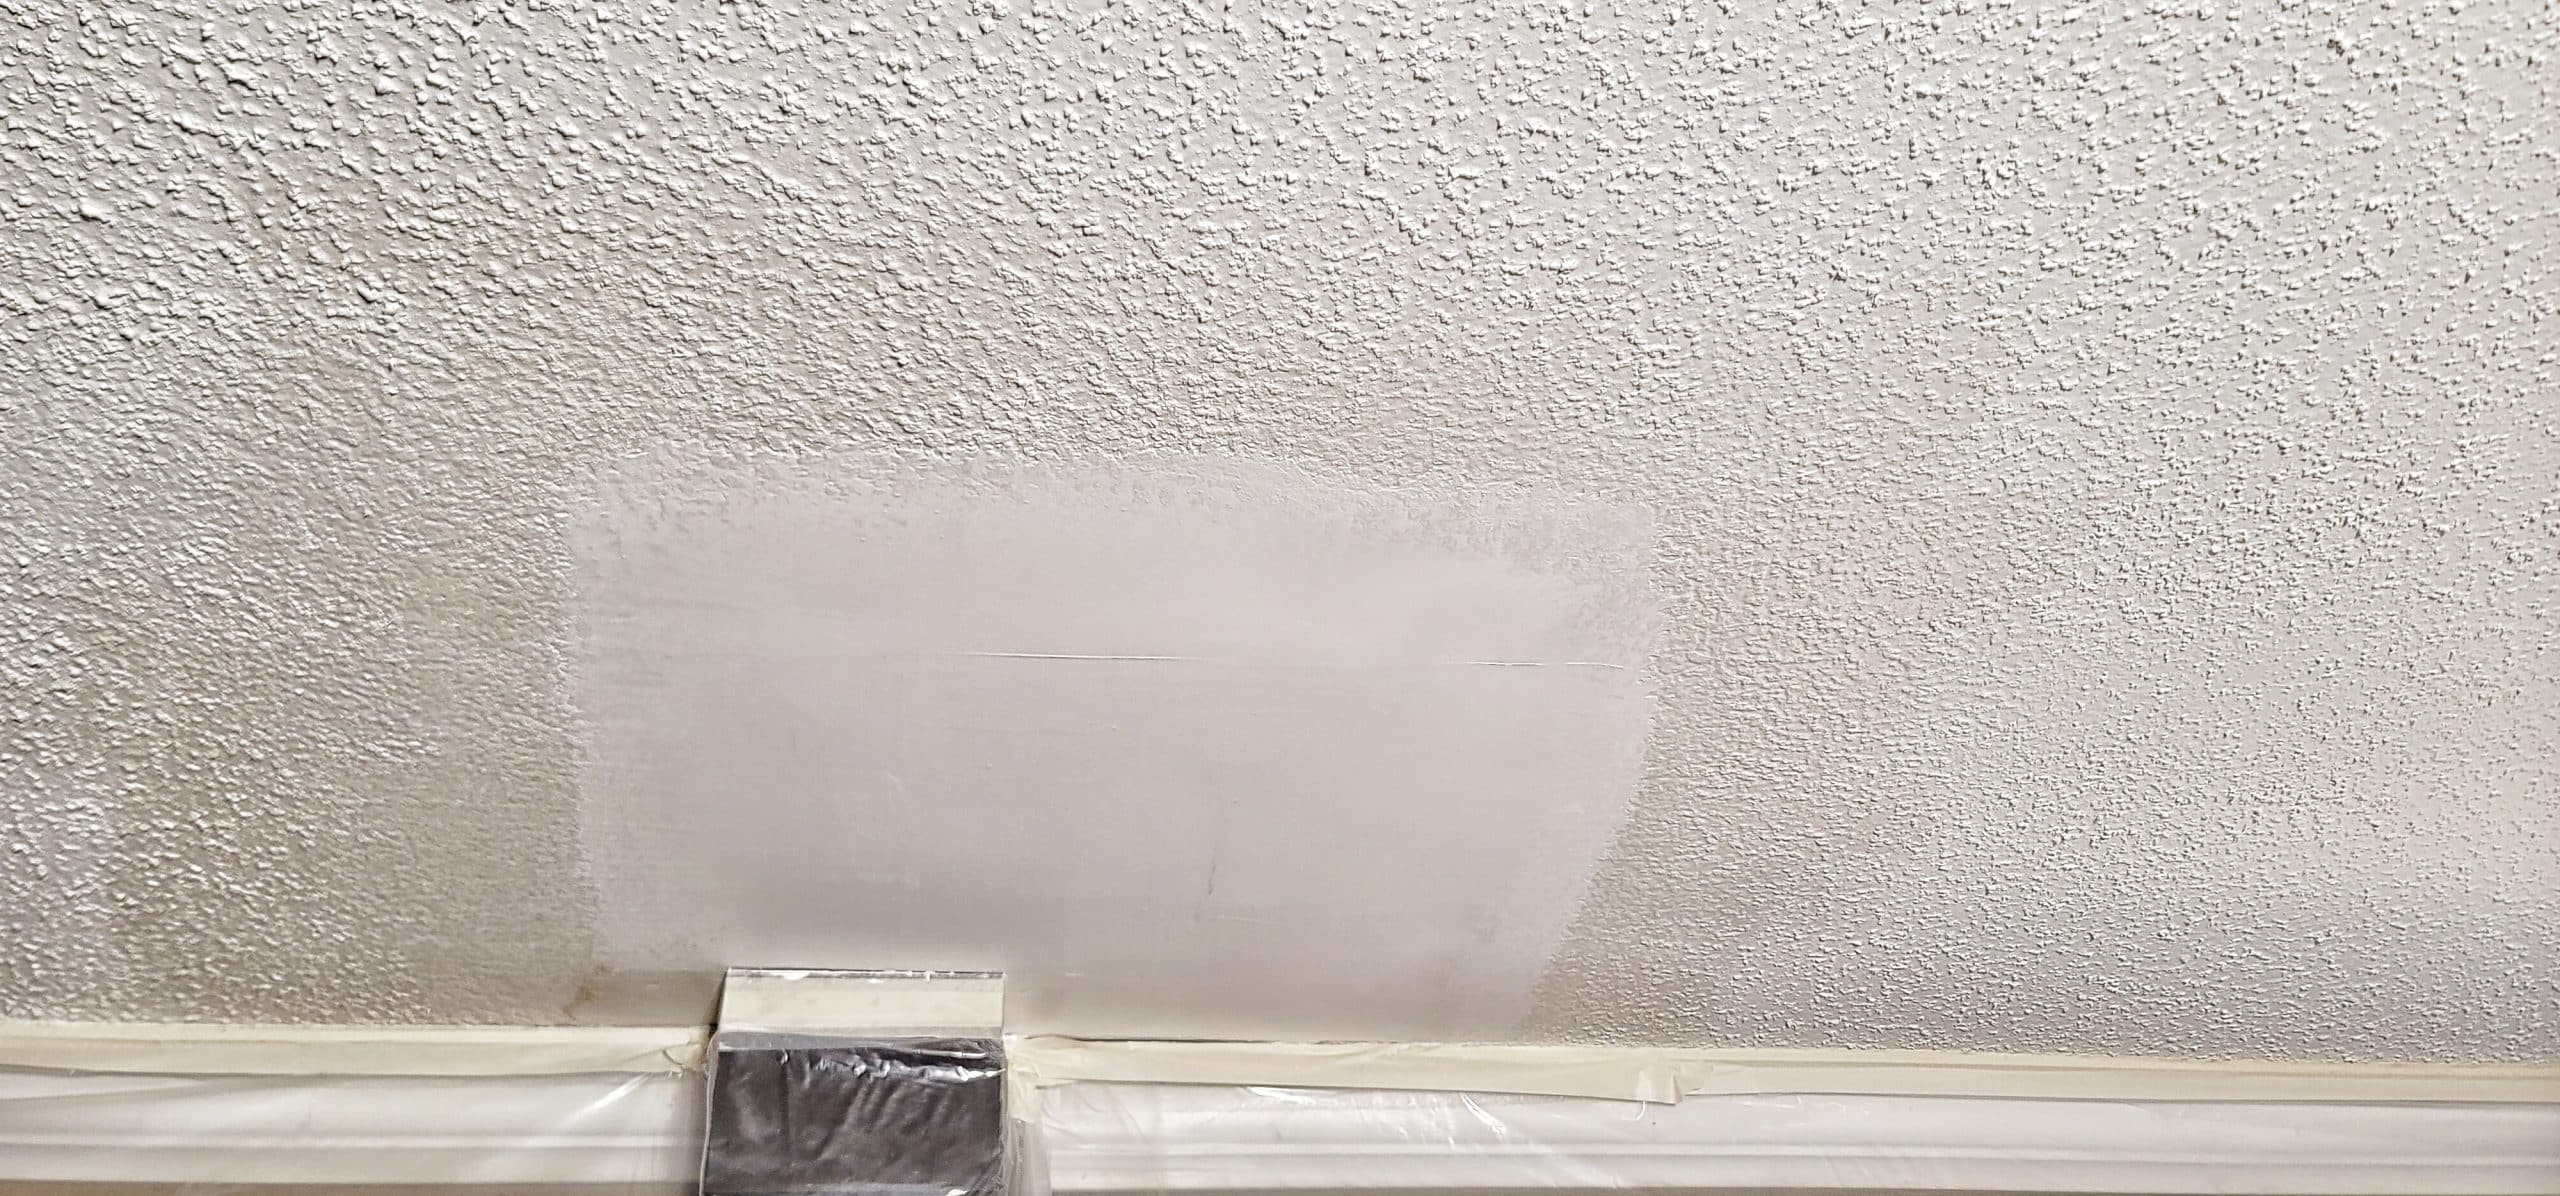
5. Prepack
The gap between new and old material needs to be addressed intentionally; if not, hairline cracks can occur, and show up thru the face of the tape. Occasionally, this can be done in the same batch of mud, using 5 min mud. However, it is typically accomplished by using a chem-setting compound with a dash of Mudmax™, allowing that to set up, and then the tape and skim coats applied.
6. Tape, Skim
Tape, Coat, Skim was done here. Upon final skim and touchup, the transition of old mud to new is helped via a sponge. This eliminates a hard transition of new mud to the existing material.
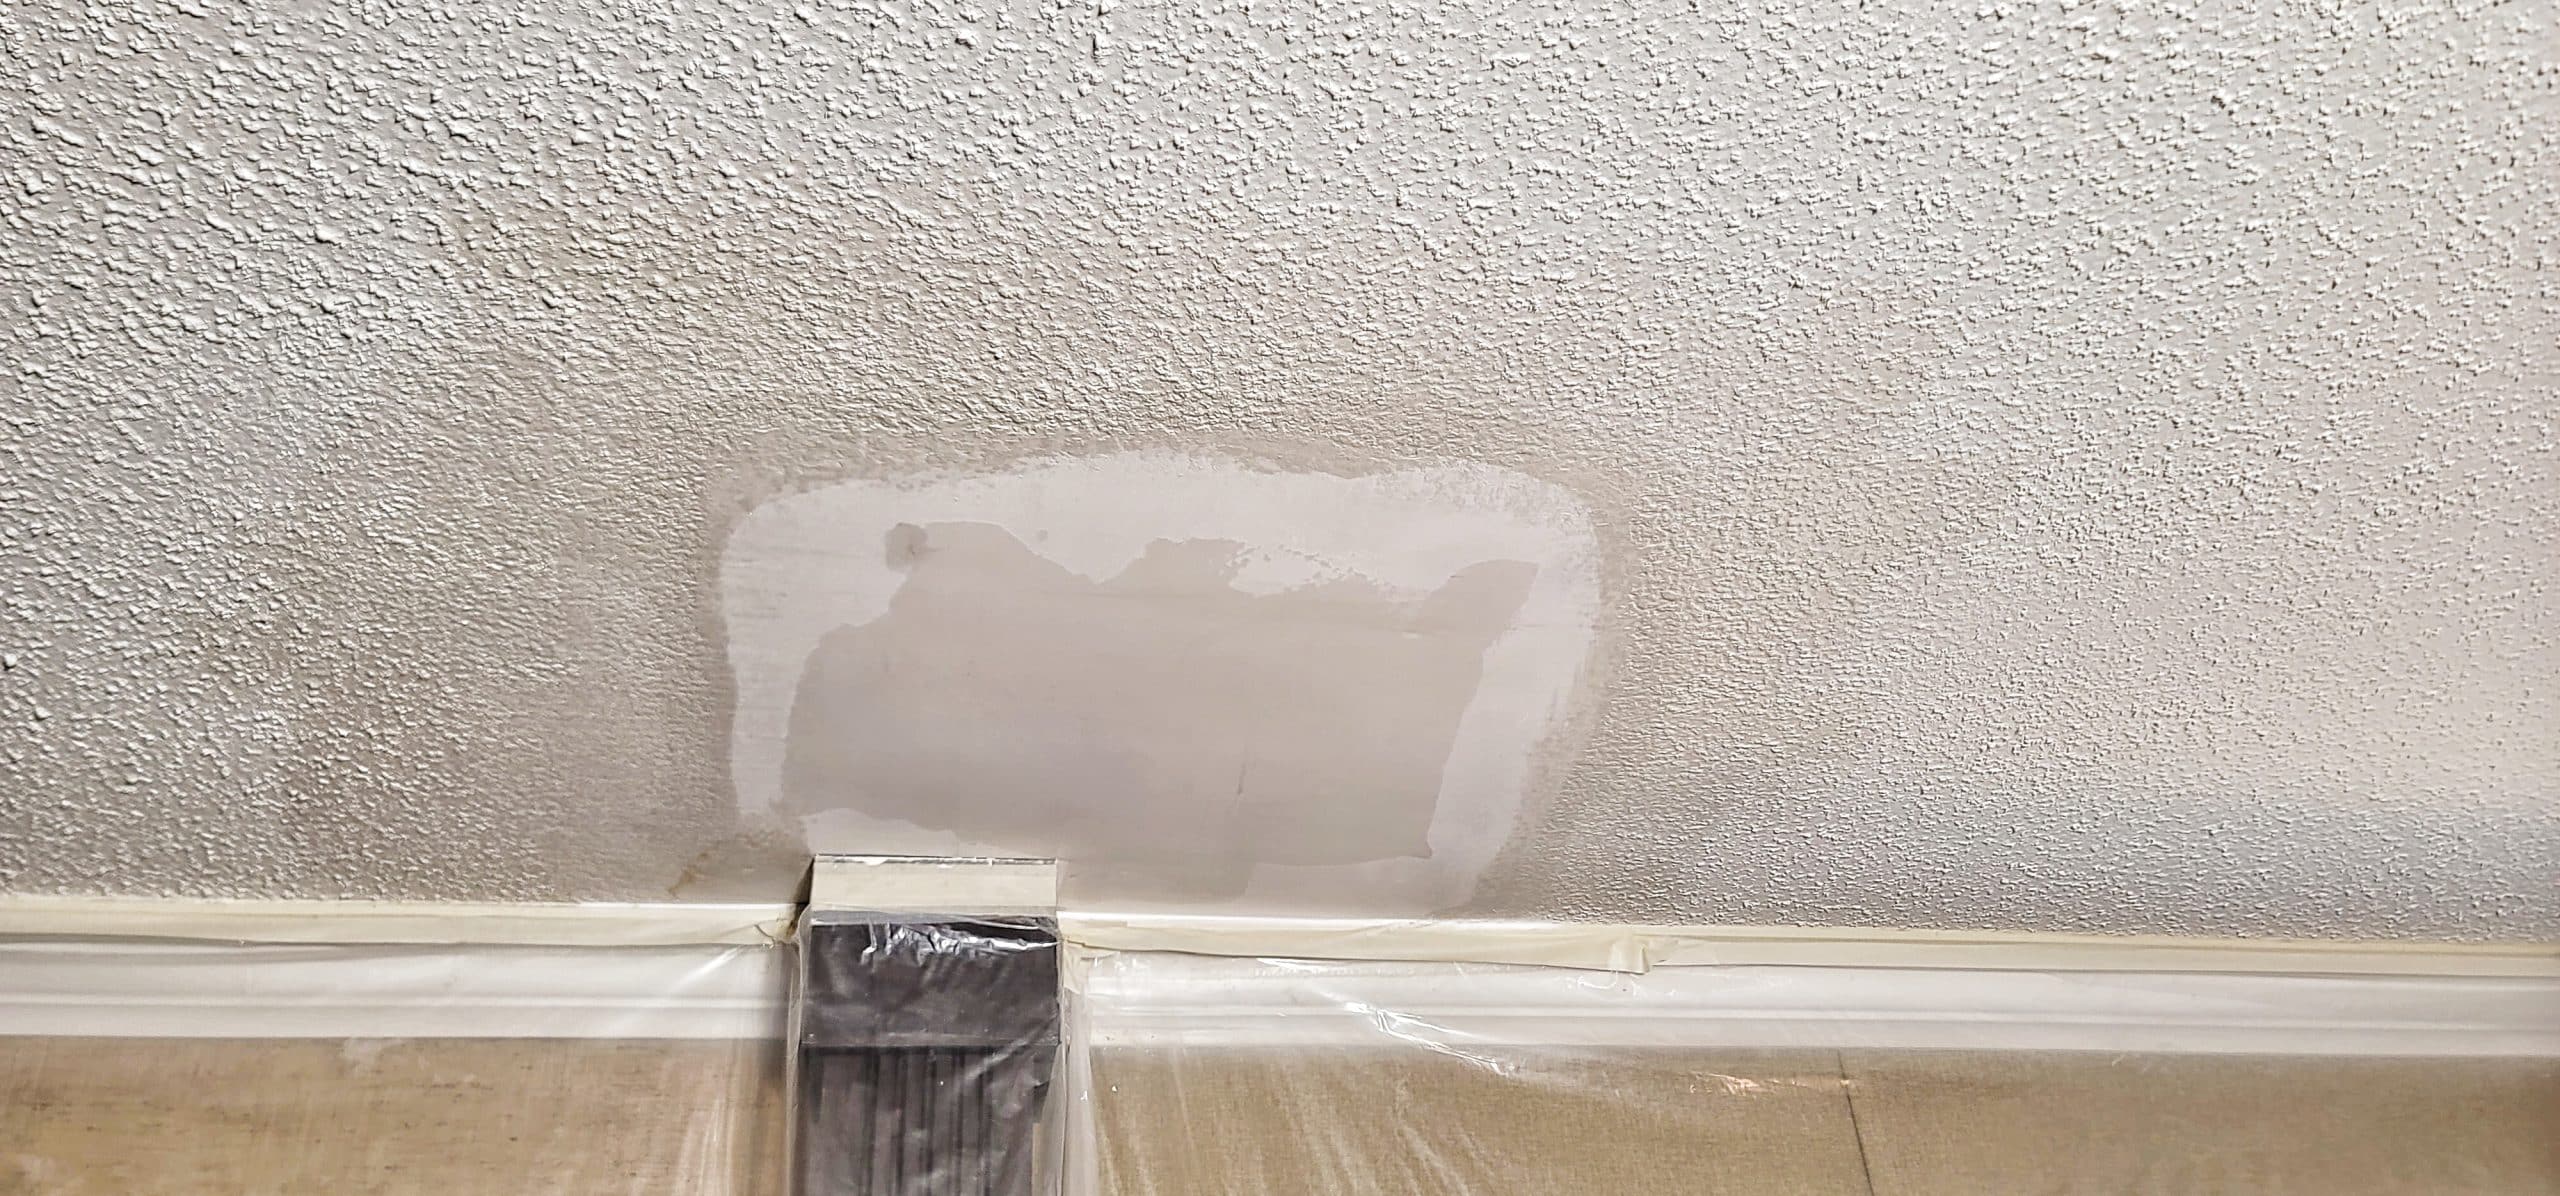
7. Texture Spray
Approximately 60 psi, 6+ SCFM with approx. ¼-3/8” nozzle tip gives the tech a good start to matching the texture correctly. We like to give a few test shots against the plastic to make sure any extra water in the mix isn’t trapped in the hopper. Then start towards the middle, and spray. The distance form the ceiling will determine your slurry loading- the wet part of the texture. You want enough liquid to get the aggregate ( foam pebbles) to stick, but not so much that it will become soupy.
8. Completed Repair!
Popcorn texture is best to shoot the spray, then allow it to site for a few minutes. Then, evaluate if a few extra pops of texture are needed. As seen here, this patch turned out great, and the client was very satisfied.
9. Easter Egg / Pro Tip
While we do not guarantee or offer color matches, popcorn texture can be lightened considerably. A little water based primer added to the texture mix before application not only can aid in adhesion, but can also ease the color transition of the new drywall patch to the existing ceiling material.