Drywall Case Study 5

Project 6
Wall Repair
Ocala, Florida
Knockdown Texture
Referrals are the lifeblood of a successful business! A Local Realtor with an expansive portfolio of properties reached out to us to make this problem area in a very nice home for sale “go away.” We were happy to oblige!
1.Prep!
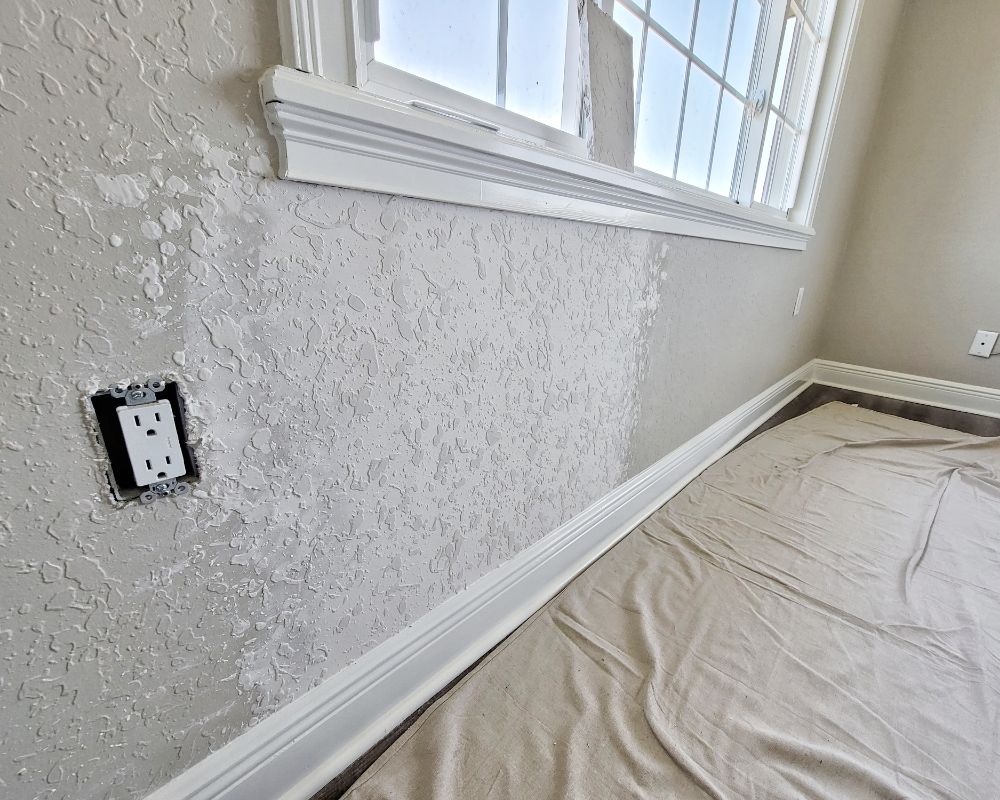
Plastic on the floor, put up Zippoles®, and pay attention to the work area to and from this 2nd story bedroom! Whether it’s a ground floor approach, or several hundred feet from entrance to jobsite, we’re committed to a clean worksite!
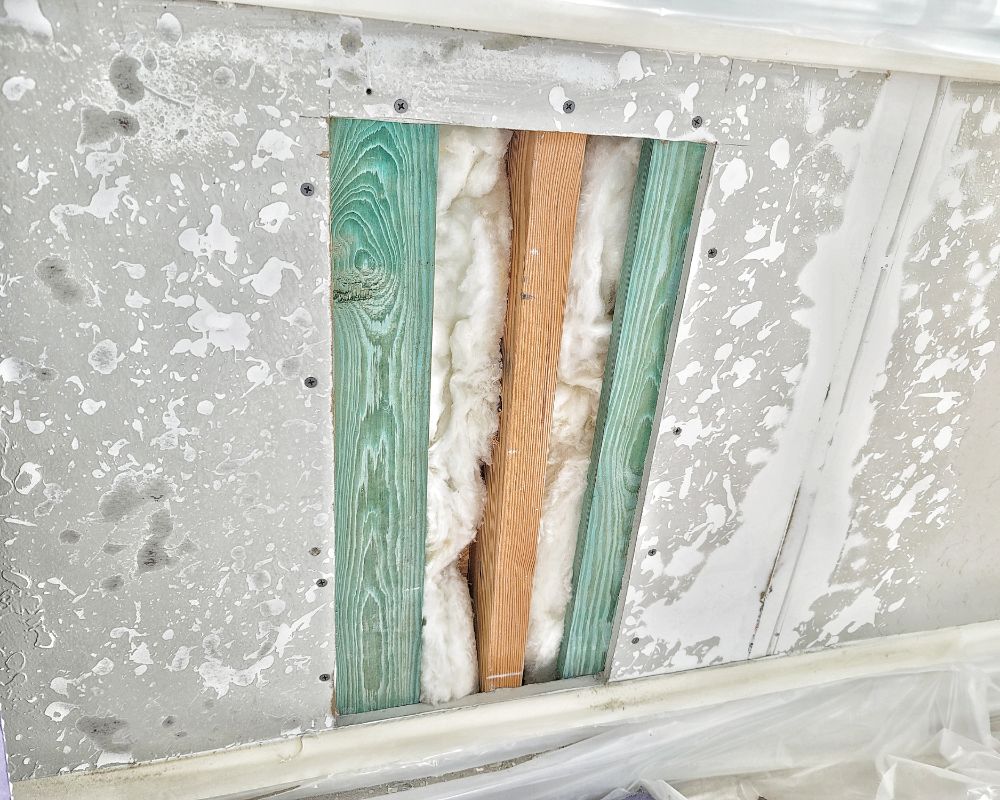
2. Identify Extent of Repair Area
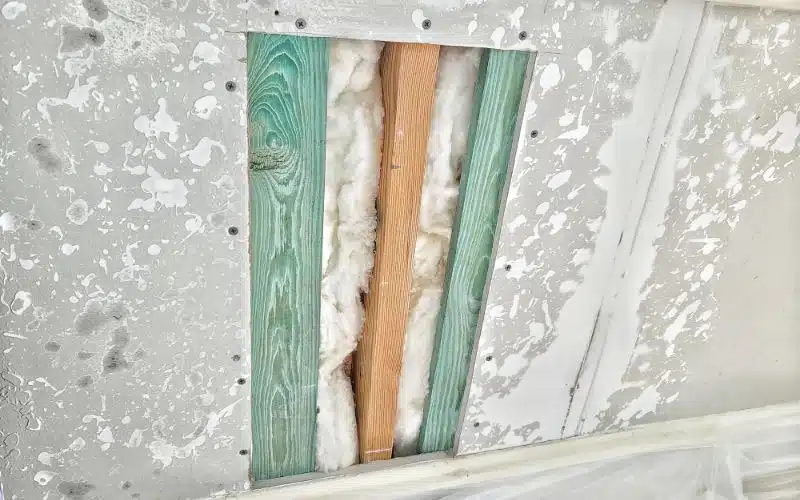
An access hole had been cut to verify the extent of the repair field. We simply squared up the area to receive the patch.
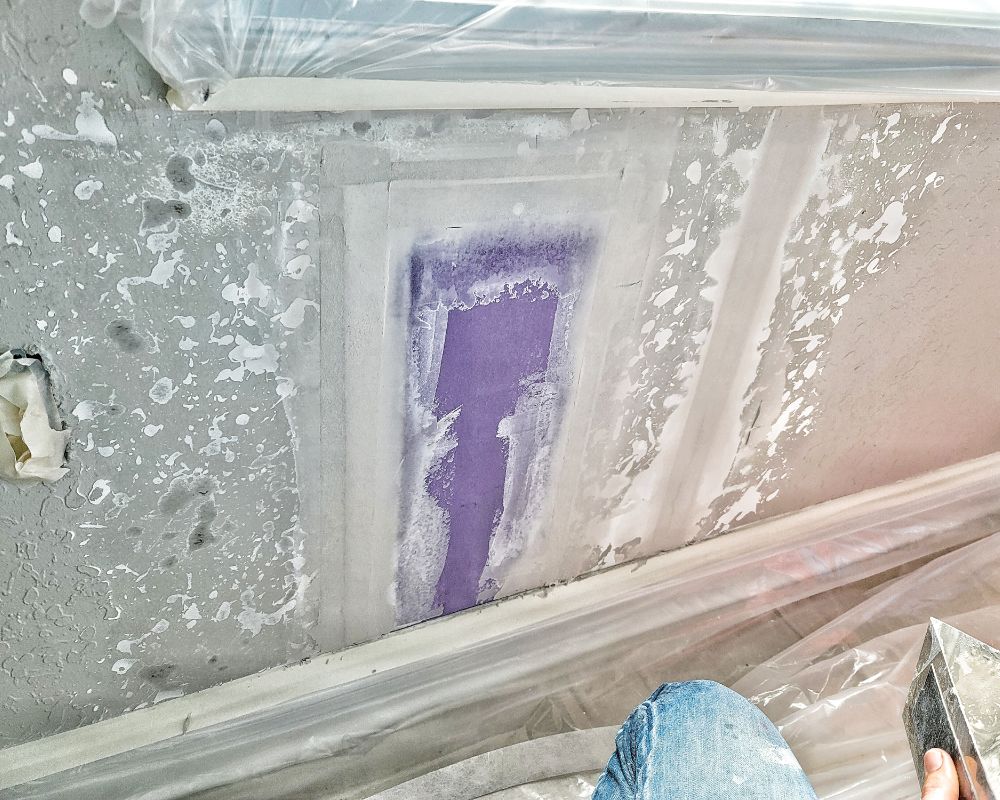
3. Patch Prep
The texture was ground down to the face of the board using 60 grit Cubitron II™ sandpaper on a Bosch® 6” Random Orbital Sander with appropriate dust extraction. During the course of repair area identification and patch prep, a failed paper seam came in to view. We went ahead and addressed that as well, stripping off the mud and texture to a point fo successful new tape and mud integration. The patch area got a good wipe down with a microfiber cloth, and then treated with Gardz™ problem surface sealer, applied via a mini-roller.
1” x 4” Borate Pressure Treated Boards were cut to length, then inserted to give the patch the necessary structural integrity.
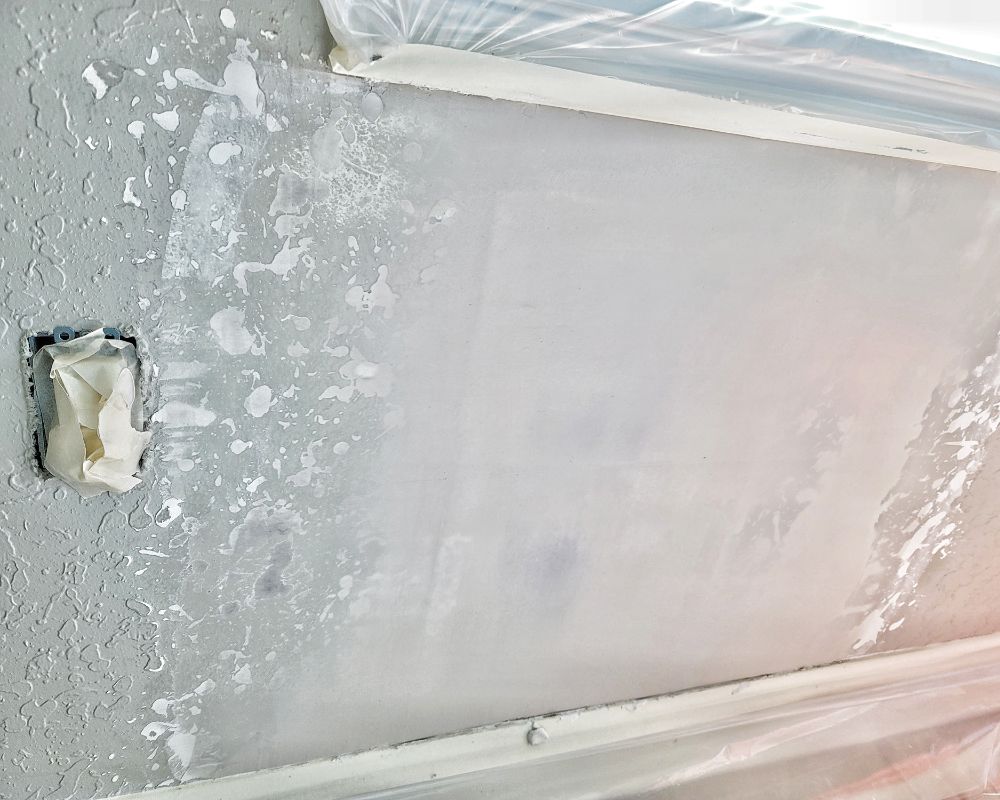
5. Prepack / Patch Installation
Typically, were looking for about an 1/8” tolerance for the patch to existing wall or ceiling area. We ended up a little larger than that here, but that’s what Tim-Tex® MudMax™ and some 5 minute mud are for. We’re looking for about a 4”-6” spacing on fasteners.
6. Tape
The Fibafuse lays down very nicely here. We take care to minimize potential overlap of the tape, to keep the height profile of the patch to a minimum.
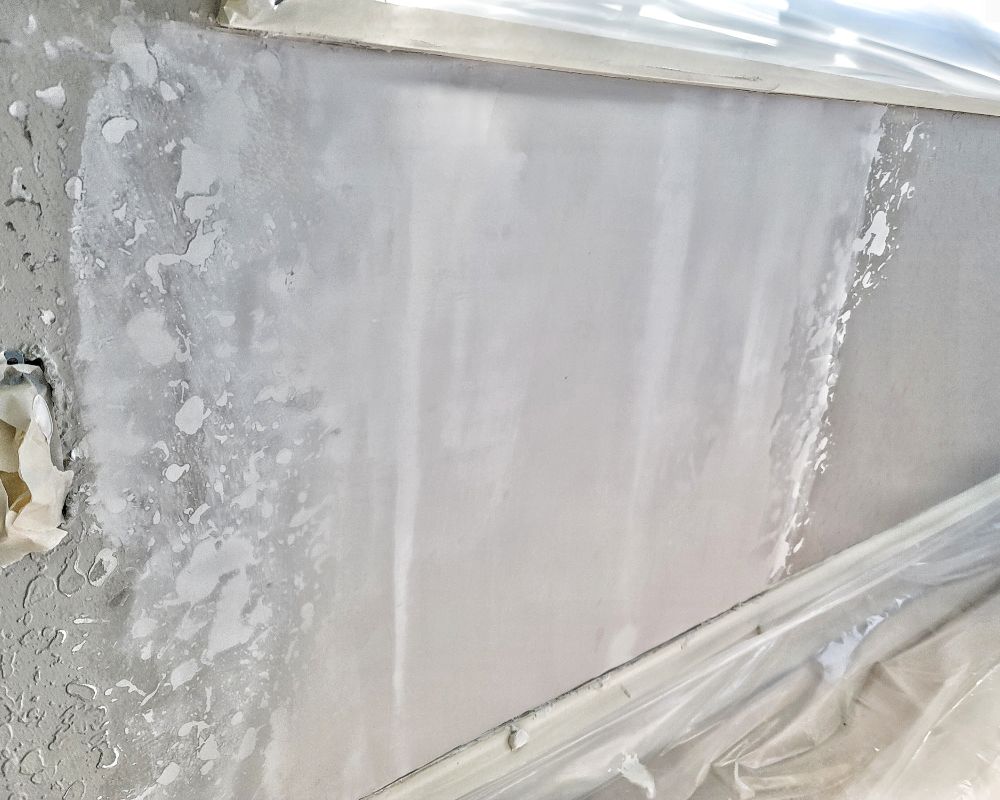
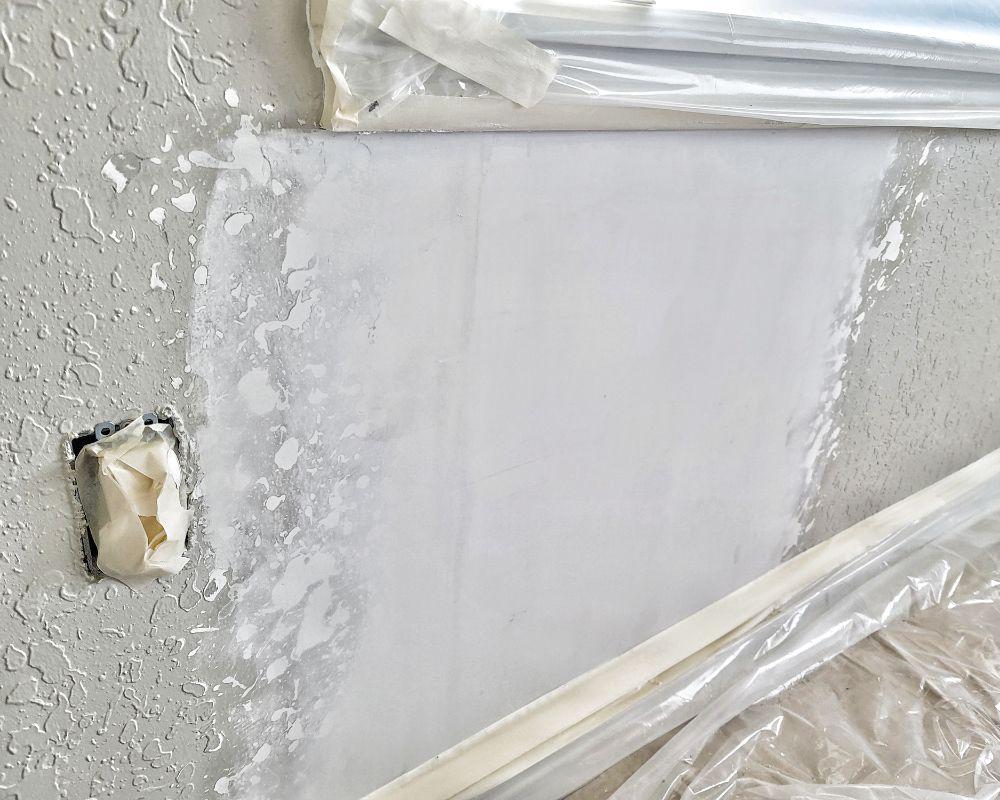
7. Coat, Skim, Texture
Multiple coats of mud are applied. The texture is sprayed on, then wiped down with a plastic knockdown blade. Excess material is removed via drywall knife, then sponge to finetune the integration of old to new texture, and prevent haloing.
8. Easter Egg / Pro Tip
Control your material viscosity and solids! Some knockdown spray sits thick and proud; others is knocked down flat and doesn’t have a lot of backscatter. Take the time to look at the repair objectively, and make an out loud, verbal assessment of the texture. That will teach your mind and hands how to approach the job as a caring technician, not just a tired worker. Taking the right kind of pride in your craft, and still be learning to grow and experiment, is the difference of a master in craft and just a “ho-hum” person of industry.